As I talked about in a previous post about BackupPC, it is a very powerful tool when is comes to doing self-hosted backups. The downside is when you want to archive out a machine. For example, you have backups of a host, but the host is long gone, and you just want to archive the data. Well there are 2 ways to go about this. Either you can use the web interface to create a restore.tar/zip file to download (which doesn’t always work, especially if done over the internet), or you can create the tar backup on the server, compress, md5, and download it using sftp. I like the second option. Mostly because I’m going through it right now. I have a backup server out in the cloud that I need to archive some 50 hosts from, so here is how I did it.
Simply log into the server and su to the backuppc user and go to where ever you want an archive.
In the example above, I’m getting an archive of the home directory for host “nameOfHost”. You can do this for any backed up folder. Once done, you can create an md5sum of the file to help verify you got it downloaded right. You can also bzip2 the file and hopefully make it smaller. Even md5sum that one as well.
Either way, if is a great way to get very large archives created so you don’t have to go through the browser for everything. Feel free to script it, that’s what I did. I was able to start the archive and let it run over the weekend before downloading once the work week started again.
Did this command work for you? Did it not? What did work for you? Please let me know in the comments.
A while back, Dropbox dropped a lot of support for Linux, such as dropping XFS and EncFS, which broke a lot of users. It ended up causing problems for me at work because we use CentOS and all of the sudden, Glibc is now too old to even run dropbox headless. Eventually I gave up on Dropbox and started just using it for simple things through the web browser, but then I discovered rclone.
Using rclone, I was not only able to view everything in Dropbox (which by the way, my company uses Okta for single sign-on, and this still worked) but I was able to mount Dropbox to my local file system! For those of you familiar with webdav, this works in a similar way. When you “mount” Dropbox it doesn’t download anything like when you use the app. It all works online. Put files into the mounted folder, and they will upload.
rclone config
n) New remote
d) Delete remote
q) Quit config
e/n/d/q> n
name> remote
Type of storage to configure.
Choose a number from below, or type in your own value
[snip]
XX / Dropbox
   \ "dropbox"
[snip]
Storage> dropbox
Dropbox App Key - leave blank normally.
app_key>
Dropbox App Secret - leave blank normally.
app_secret>
Edit advanced config? (y/n)
y) Yes
n) No
y/n> n
Remote config
Use auto config?
 * Say Y if not sure
 * Say N if you are working on a remote or headless machine
y) Yes
n) No
y/n> Y
If your browser doesn't open automatically go to the following link: http://127.0.0.1:53682/auth
Log in and authorize rclone for access
Waiting for code...
Got code
--------------------
[dropbox]
type = dropbox
token = {"access_token":"BIG LONG TOKEN HIDDEN","token_type":"bearer","expiry":"0001-01-01T00:00:00Z"}
--------------------
y) Yes this is OK
e) Edit this remote
d) Delete this remote
y/e/d> y
Current remotes:

Name                 Type
====                 ====
dropbox              dropbox

e) Edit existing remote
n) New remote
d) Delete remote
r) Rename remote
c) Copy remote
s) Set configuration password
q) Quit config
e/n/d/r/c/s/q>
rclone config
n) New remote
d) Delete remote
q) Quit config
e/n/d/q> n
name> remote
Type of storage to configure.
Choose a number from below, or type in your own value
[snip]
XX / Dropbox
\ "dropbox"
[snip]
Storage> dropbox
Dropbox App Key - leave blank normally.
app_key>
Dropbox App Secret - leave blank normally.
app_secret>
Edit advanced config? (y/n)
y) Yes
n) No
y/n> n
Remote config
Use auto config?
* Say Y if not sure
* Say N if you are working on a remote or headless machine
y) Yes
n) No
y/n> Y
If your browser doesn't open automatically go to the following link: http://127.0.0.1:53682/auth
Log in and authorize rclone for access
Waiting for code...
Got code
--------------------
[dropbox]
type = dropbox
token = {"access_token":"BIG LONG TOKEN HIDDEN","token_type":"bearer","expiry":"0001-01-01T00:00:00Z"}
--------------------
y) Yes this is OK
e) Edit this remote
d) Delete this remote
y/e/d> y
Current remotes:
Name Type
==== ====
dropbox dropbox
e) Edit existing remote
n) New remote
d) Delete remote
r) Rename remote
c) Copy remote
s) Set configuration password
q) Quit config
e/n/d/r/c/s/q>
So I kind of cheated here, but basically once you are getting setup a new link will your browser, log into Dropbox and it will ask for rclone to be able to access Dropbox. Give access and your done. It is pretty easy. Now I named my dropbox dropbox, maybe dropbox wasn’t the best name to differentiate it, but oh well.
Once you get to this point you can do something like
rclone ls dropbox:
rclone ls dropbox:
Which will get you a nice list of files you currently have in your dropbox.
You must background the process to get your shell back. The mount is only active while that program is running and it does not appear in your list of mounted drives in Linux. So running something like df will not show the mount point, but what ever user you are logged in as (or that ran the command) will see files when looking in that directory.
I’m a huge fan of OpenVAS. It is a great tool for probing your network and finding possible security holes. Many of you have probably heard of Nessus, another fantastic tool, but it can be pretty pricey. I would recommend it for business, but for home use, go for OpenVAS.
In many cases, I would recommend you setup a Linux distribution called Kali Linux. It has a lot of really good tools built right in, including OpenVAS, but I’ve started running into issues with it lately. I’ll run a scan, and the systems load gets so high it becomes completely unresponsive for days at a time, then fails to finish. I’m not sure what I’m doing wrong there, so I decided to wipe the machine and put my good ‘ol Slackware back on it. After using it for several weeks I have decided to leave it Slackware as those issues have disappeared. So now I’m going to point you in the direction to get OpenVAS installed, plus a few extras that will make things easier.
I’m going to assume you are familiar with slackbuilds.org and hopefully a wonderful tool called sbopkg, as some wonderful people over there have build script for OpenVAS that will make your life so much better. Kent Fritz has written a great guide on how to get going over on slackbuilds.org. Go through his steps then come back here.
FYI, I have build and used OpenVAS on both 32 and 64bit Slackware and even on ARM using a Raspberry Pi. I’ve only had one program (hiredis) fail to build using sbopkg, so I had to do it the old fashioned way and download the build script and source and build outside sbopkg.
Note that while going through the instructions over on slackbuilds.org, before running any type of sync command, stop the running processes like openvasmd and openvassd. This is because the first time you run them, they will require a large amount of memory and will crash on the Raspberry Pi (I’m not sure on the pi2, I haven’t tried yet). By ensuring those processes are not running, it will surely finish properly.
Welcome back… I’m assuming you followed the instructions over on slackbuilds.org and are ready to continue. Here are some tips and script to make like just a little easier.
#!/bin/bash
echo "Updating OpenVAS Feeds"
echo "Stopping OpenVAS if running..."
/usr/bin/openvas-stop
openvas-nvt-sync
openvas-scapdata-sync
openvas-certdata-sync
echo "Rebuilding Database"
openvasmd --rebuild
echo "You can start OpenVAS now if needed"
#!/bin/bash
echo "Updating OpenVAS Feeds"
echo "Stopping OpenVAS if running..."
/usr/bin/openvas-stop
openvas-nvt-sync
openvas-scapdata-sync
openvas-certdata-sync
echo "Rebuilding Database"
openvasmd --rebuild
echo "You can start OpenVAS now if needed"
/usr/bin/openvas-setup
#!/bin/bash
test -e /var/lib/openvas/CA/cacert.pem  || openvas-mkcert -q
if (openssl verify -CAfile /var/lib/openvas/CA/cacert.pem \
    /var/lib/openvas/CA/servercert.pem |grep -q ^error); then
    openvas-mkcert -q -f
fi
openvas-nvt-sync
openvas-scapdata-sync
openvas-certdata-sync
if ! test -e /var/lib/openvas/CA/clientcert.pem || \
    ! test -e /var/lib/openvas/private/CA/clientkey.pem; then
    openvas-mkcert-client -n -i
fi
if (openssl verify -CAfile /var/lib/openvas/CA/cacert.pem \
    /var/lib/openvas/CA/clientcert.pem |grep -q ^error); then
    openvas-mkcert-client -n -i
fi
/etc/rc.d/rc.openvasmd stop
/etc/rc.d/rc.openvassd stop
/etc/rc.d/rc.openvassd start
openvasmd --migrate
openvasmd --rebuild
/etc/rc.d/rc.openvassd stop
killall openvassd
sleep 15
/etc/rc.d/rc.openvassd start
/etc/rc.d/rc.openvasmd start
/etc/rc.d/rc.gsad restart
/etc/rc.d/rc.redis restart
if ! openvasmd --get-users | grep -q ^admin$ ; then
    openvasmd --create-user=admin
fi
#!/bin/bash
test -e /var/lib/openvas/CA/cacert.pem || openvas-mkcert -q
if (openssl verify -CAfile /var/lib/openvas/CA/cacert.pem \
/var/lib/openvas/CA/servercert.pem |grep -q ^error); then
openvas-mkcert -q -f
fi
openvas-nvt-sync
openvas-scapdata-sync
openvas-certdata-sync
if ! test -e /var/lib/openvas/CA/clientcert.pem || \
! test -e /var/lib/openvas/private/CA/clientkey.pem; then
openvas-mkcert-client -n -i
fi
if (openssl verify -CAfile /var/lib/openvas/CA/cacert.pem \
/var/lib/openvas/CA/clientcert.pem |grep -q ^error); then
openvas-mkcert-client -n -i
fi
/etc/rc.d/rc.openvasmd stop
/etc/rc.d/rc.openvassd stop
/etc/rc.d/rc.openvassd start
openvasmd --migrate
openvasmd --rebuild
/etc/rc.d/rc.openvassd stop
killall openvassd
sleep 15
/etc/rc.d/rc.openvassd start
/etc/rc.d/rc.openvasmd start
/etc/rc.d/rc.gsad restart
/etc/rc.d/rc.redis restart
if ! openvasmd --get-users | grep -q ^admin$ ; then
openvasmd --create-user=admin
fi
Here is a great program that can help find any issues while getting setup. This link is mentioned in Kent’s instructions. So hopefully you have it already.
WOW! That is a lot! Alright, so several files have been created. Here is what each one does.
/usr/bin/openvas-start:
This will start all the services needed.
/usr/bin/openvas-stop:
This will stop all the services.
/usr/bin/openvas-feed-update:
This will update all your feeds.
/usr/bin/openvas-setup:
This script will help if you have any issues. Sometimes OpenVAS feeds cause an issue, and by running this command you will find it fixes the problem 99% of the time.
/usr/bin/openvas-check-setup:
This one will help you diagnose issues.
Give it time:
When starting OpenVAS, each part is thrown into the background to finish loading. Depending on your computers speed, it can take a while before you can do anything. Best to watch with top, htop, or iotop to see when everything has finished loading. Then proceed to use GreenBone.
Possible Issues:
When trying to log in to the GreenBone Security Assistant, You might get an error that says the OMP service could not be found. Try running the openvas-setup-check. If you get an error saying there are no users, run openvas-setup. This will fix it. This is a problem I have seen several times in the past on both Slackware and Kali, so I believe it to be a bug somewhere in OpenVAS.
I think that’s just about it. You should now be up and running with OpenVAS!
BackupPC is a fantastic tool for backing up all your machines. I use it to back up both Windows and Linux machines. Linux is easy, all you need is SSH and rsync, but Windows is kind of a pain. You need to use Windows shares in most every case. In the future, I’ll talk about how to use Cygwin to use SSH and rsync to backup a Windows machine.
The problem that I have, is there is a bug in Samba versions 3.6 to 4.1 that will cause the tarbackup function to stop the backup before it finished, and BackupPC will report the backup was complete. I haven’t run into this with every Windows machine, but I have in most. Generally what causes this is using another user account to login and perform the backups, instead of using the normal user account. If you backup a Windows machine using the smb method and it appears not everything is being backed up, then this is the guide you want to follow.
To start, I’m currently running Debian 7 (Wheezy) with Samba version 3.6. I tried getting Samba 4.2 to build, but several of my libraries are out of date. If you are currently running 4.0 or 4.1, you might be able to build 4.2 on your server. Otherwise, go with 3.5.22 (being the latest 3.5 series at the time of this writing). (https://bugzilla.samba.org/show_bug.cgi?id=10605)
There are several packages that need to be installed for this to work. Every config is different, but all I have to install was autoconf, make, and gcc.
apt-get install autoconf make gcc
apt-get install autoconf make gcc
Now we need to download the Samba sources and build it, but not install.
cd /opt
wget https://download.samba.org/pub/samba/stable/samba-3.5.22.tar.gz
tar -zxf samba-3.5.22.tar.gz
cd samba-3.5.22/source3/
./autogen.sh
./configure
make
cd /opt
wget https://download.samba.org/pub/samba/stable/samba-3.5.22.tar.gz
tar -zxf samba-3.5.22.tar.gz
cd samba-3.5.22/source3/
./autogen.sh
./configure
make
That was the hard part, if Samba didn’t build correctly, you might be missing other packages. You maybe told what they are, otherwise, Google.
Now set the path for $SmbClientPath to /opt/samba-3.5.22/source3/bin/smbclient. You can either change the $SmbClientPath in your backuppc config, or just change it for hosts that are having issues. If you are reading this, I’m going to assume you know how to do that.
Now test (this will do a FULL backup, so it can take some time):
You can watch as it goes along (note that you will NOT see it running in the GUI). This can take some time, but when complete you will have an idea of if everything worked or not.
Did this work for you? Did you build Samba 4.2 or newer? Let me know in the comments.
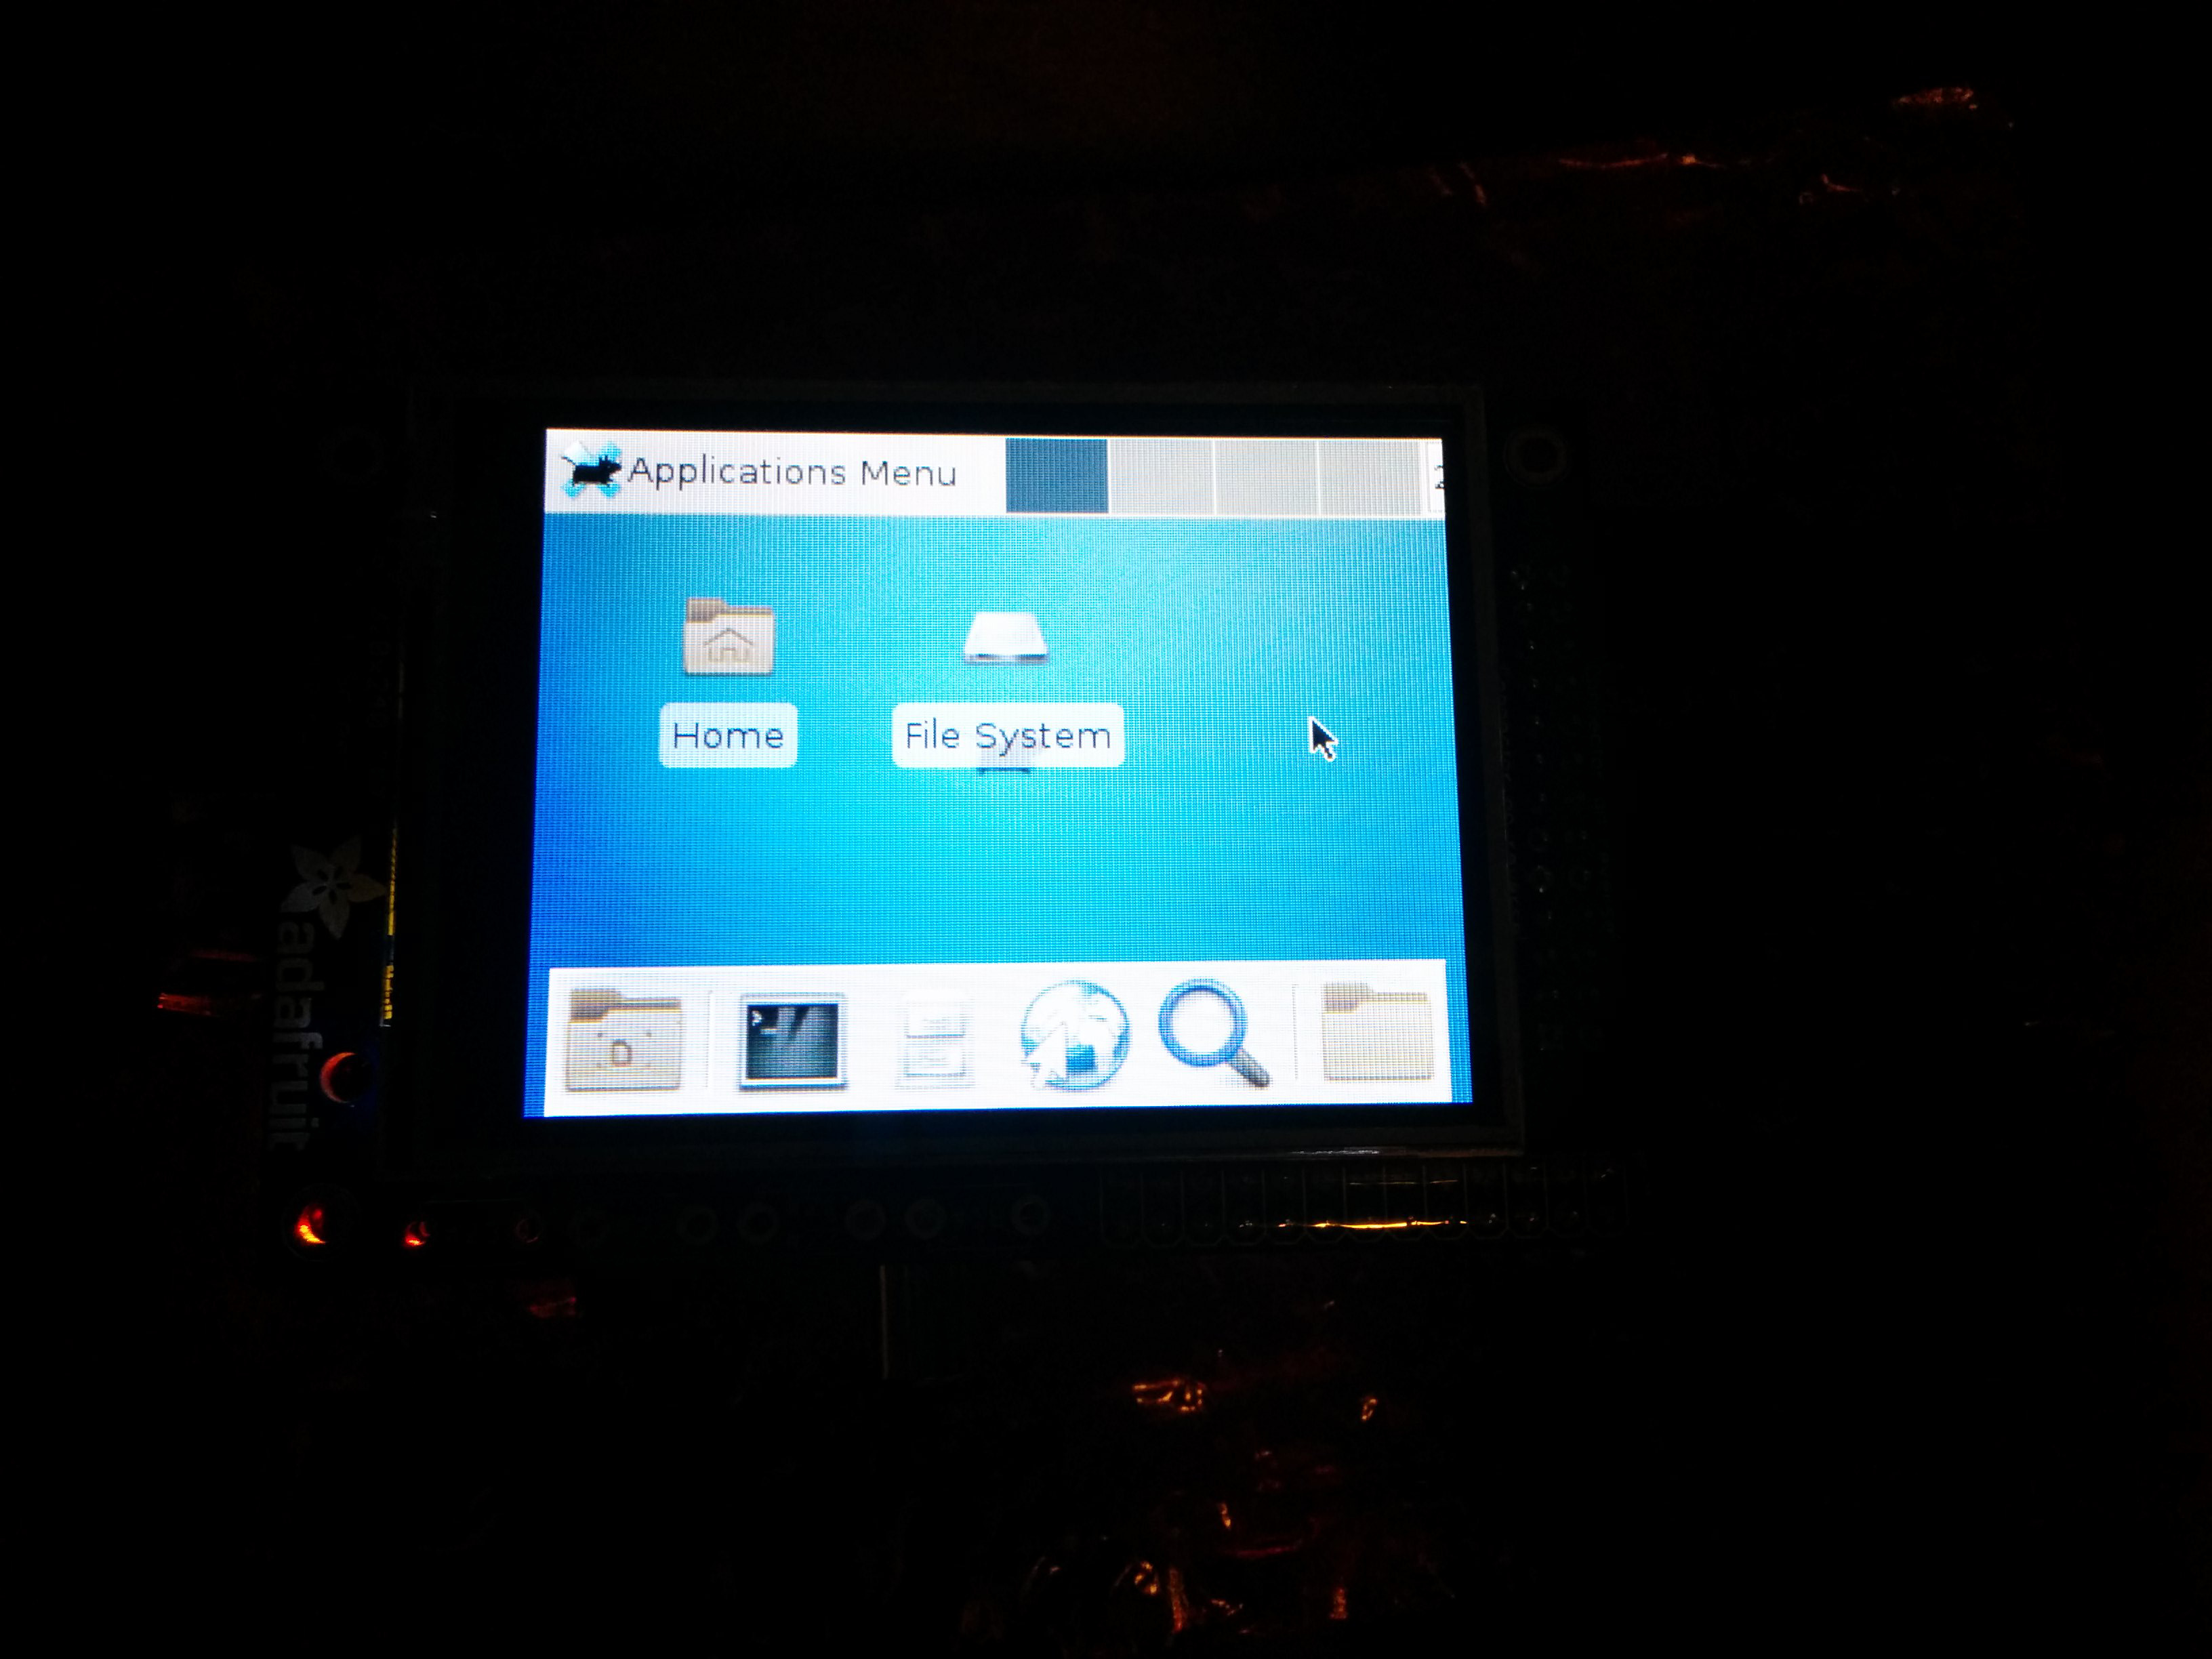
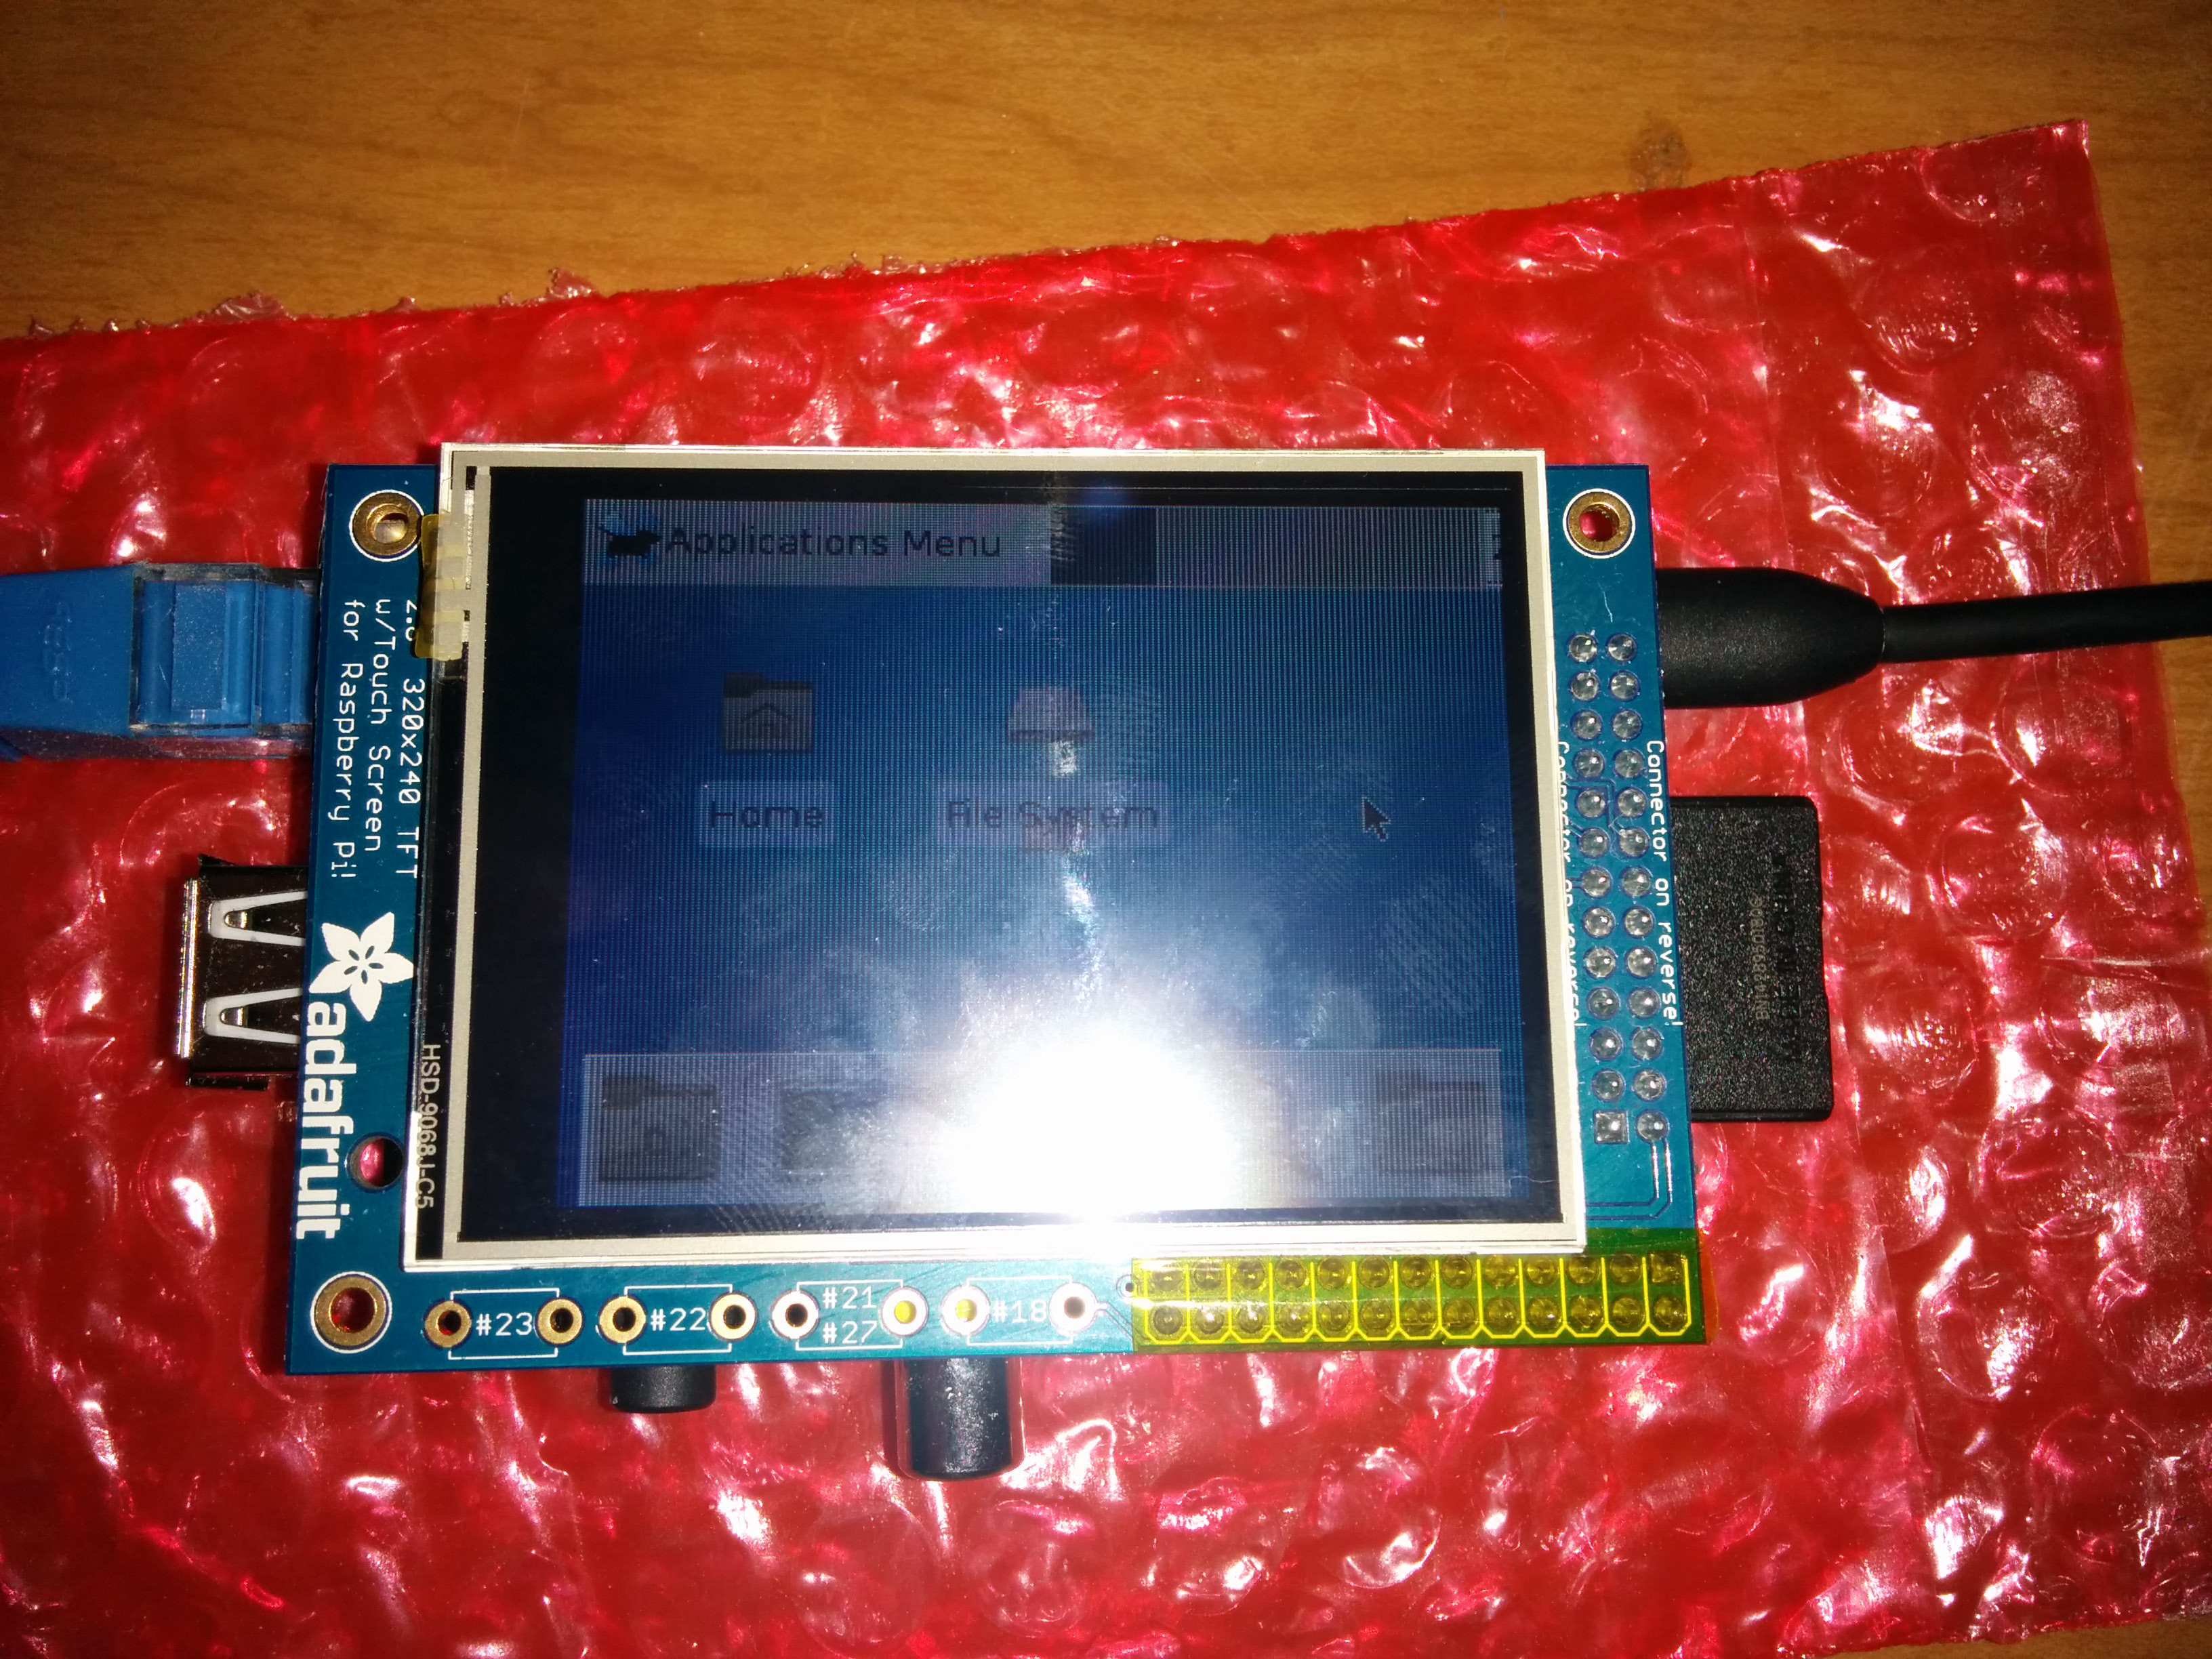
I recently had the opportunity to get a friend a new Raspberry Pi Model B. I really like these, I have several all running Slackware ARM. While I have tried other distros, I find myself always going back to Slackware after a while for one reason or another, but that is a talk for another day. My friend decided he wanted to run Slackware on one of his Raspberry Pis, so I helped him out and get everything installed. Then I was presented with another issue. He wanted to use his Adafruit touchscreen. Now, Adafruit’s documentation and setup guides are really good, but only if you are running Raspbian (or a Debian based system). So that did present an issue, but one I wanted to solve.
Before I continue, please note that I did get this working (video and images at the bottom of the post), but I had to deliver the Pi back before I got a change to try again from scratch. This guide is based heavily off my best recollection of the steps I took, and may not be complete. If I’m missing something, or you can’t get it to work, let me know and I will try to help… or send me a screen so I can do this again.
Start with checking out this guide: https://learn.adafruit.com/adafruit-pitft-28-inch-resistive-touchscreen-display-raspberry-pi/software-installation it was helpful in getting everything going.
Download and install deb2tgz (https://code.google.com/p/deb2tgz/). This will help you convert those deb files to tgz for Slackware.
Now convert those deb files to tgz (deb2tgz *.deb)
Then install (installpkg *.tgz)
Now, you need to make a copy of raspberrypi-bootloader-adafruit-20140917-1.deb and place it in another directory. Once there, run:
ar x raspberrypi-bootloader-adafruit-20140917-1.deb
ar x raspberrypi-bootloader-adafruit-20140917-1.deb
This will explode out the archive. Find the file called data.tar.gz, and run:
tar -zxf data.tar.gz
tar -zxf data.tar.gz
Now there will be some new directories. One is called boot. Make a backup of you /boot directory, then copy everything in that new boot to /boot.
cp -r /boot /boot.bak
cd boot
cp * /boot
cp -r /boot /boot.bak
cd boot
cp * /boot
This will install the correct kernel that you need to use.
Next, open /boot/config.txt. The only line you need is gpu_mem=32.
Now, there are a few more packages you need to install. First is called evtest. I found an awesome slackbuild repository located over at https://github.com/PhantomX/slackbuilds.git, and we are going to install his evtest package.
git clone https://github.com/PhantomX/slackbuilds.git
cd slackbuilds/
cd evtest/
./evtest.SlackBuild
installpkg evtest-1.32-x86_64-1root.txz
git clone https://github.com/PhantomX/slackbuilds.git
cd slackbuilds/
cd evtest/
./evtest.SlackBuild
installpkg evtest-1.32-x86_64-1root.txz
Notice how the arch listed in the Slackware package as x86_64, don’t worry, it works, just install it.
Next is tslib. Here is how I built and installed it (also, I cheated and did not build a Slackware package).
wget http://ftp.de.debian.org/debian/pool/main/t/tslib/tslib_1.0.orig.tar.gz
tar -zxf tslib_1.0.orig.tar.gz
cd tslib-1.0/
./autogen.sh
./configure
make
make install
wget http://ftp.de.debian.org/debian/pool/main/t/tslib/tslib_1.0.orig.tar.gz
tar -zxf tslib_1.0.orig.tar.gz
cd tslib-1.0/
./autogen.sh
./configure
make
make install
Last, we need to build a package called xf86-video-fbturbo. (Forgive me, you may not need to run make in that first directory, but definitely in the src directory)
git clone https://github.com/ssvb/xf86-video-fbturbo
cd xf86-video-fbturbo/
./autogen.sh
make
cd src
autoreconf -vi
./configure --prefix=/usr
nano xorg.conf
make
make install
git clone https://github.com/ssvb/xf86-video-fbturbo
cd xf86-video-fbturbo/
./autogen.sh
make
cd src
autoreconf -vi
./configure --prefix=/usr
nano xorg.conf
make
make install
There, that was fun! Alright, lets edit a few more files.
Open /boot/cmdline.txt, and place this one line in there (it is the only line for me, you maybe different)
Then open /etc/X11/xorg.conf.d/99-calibration.conf (if the directory or file does not exist, create it!) and place this in the file.
Note the commented out items, I meant to experiment with them, I don’t remember if those options break anything, but I doubt it.
I also recommend adding the export framebuffer to your user’s ~/.bashrc file. You need that before X will start.
I really hope I got this all right. Feel free to complain. Maybe I’ll get another chance to play with this again in the near future, and this time, I’ll get it right! I wish you all the best of luck! Cheers,