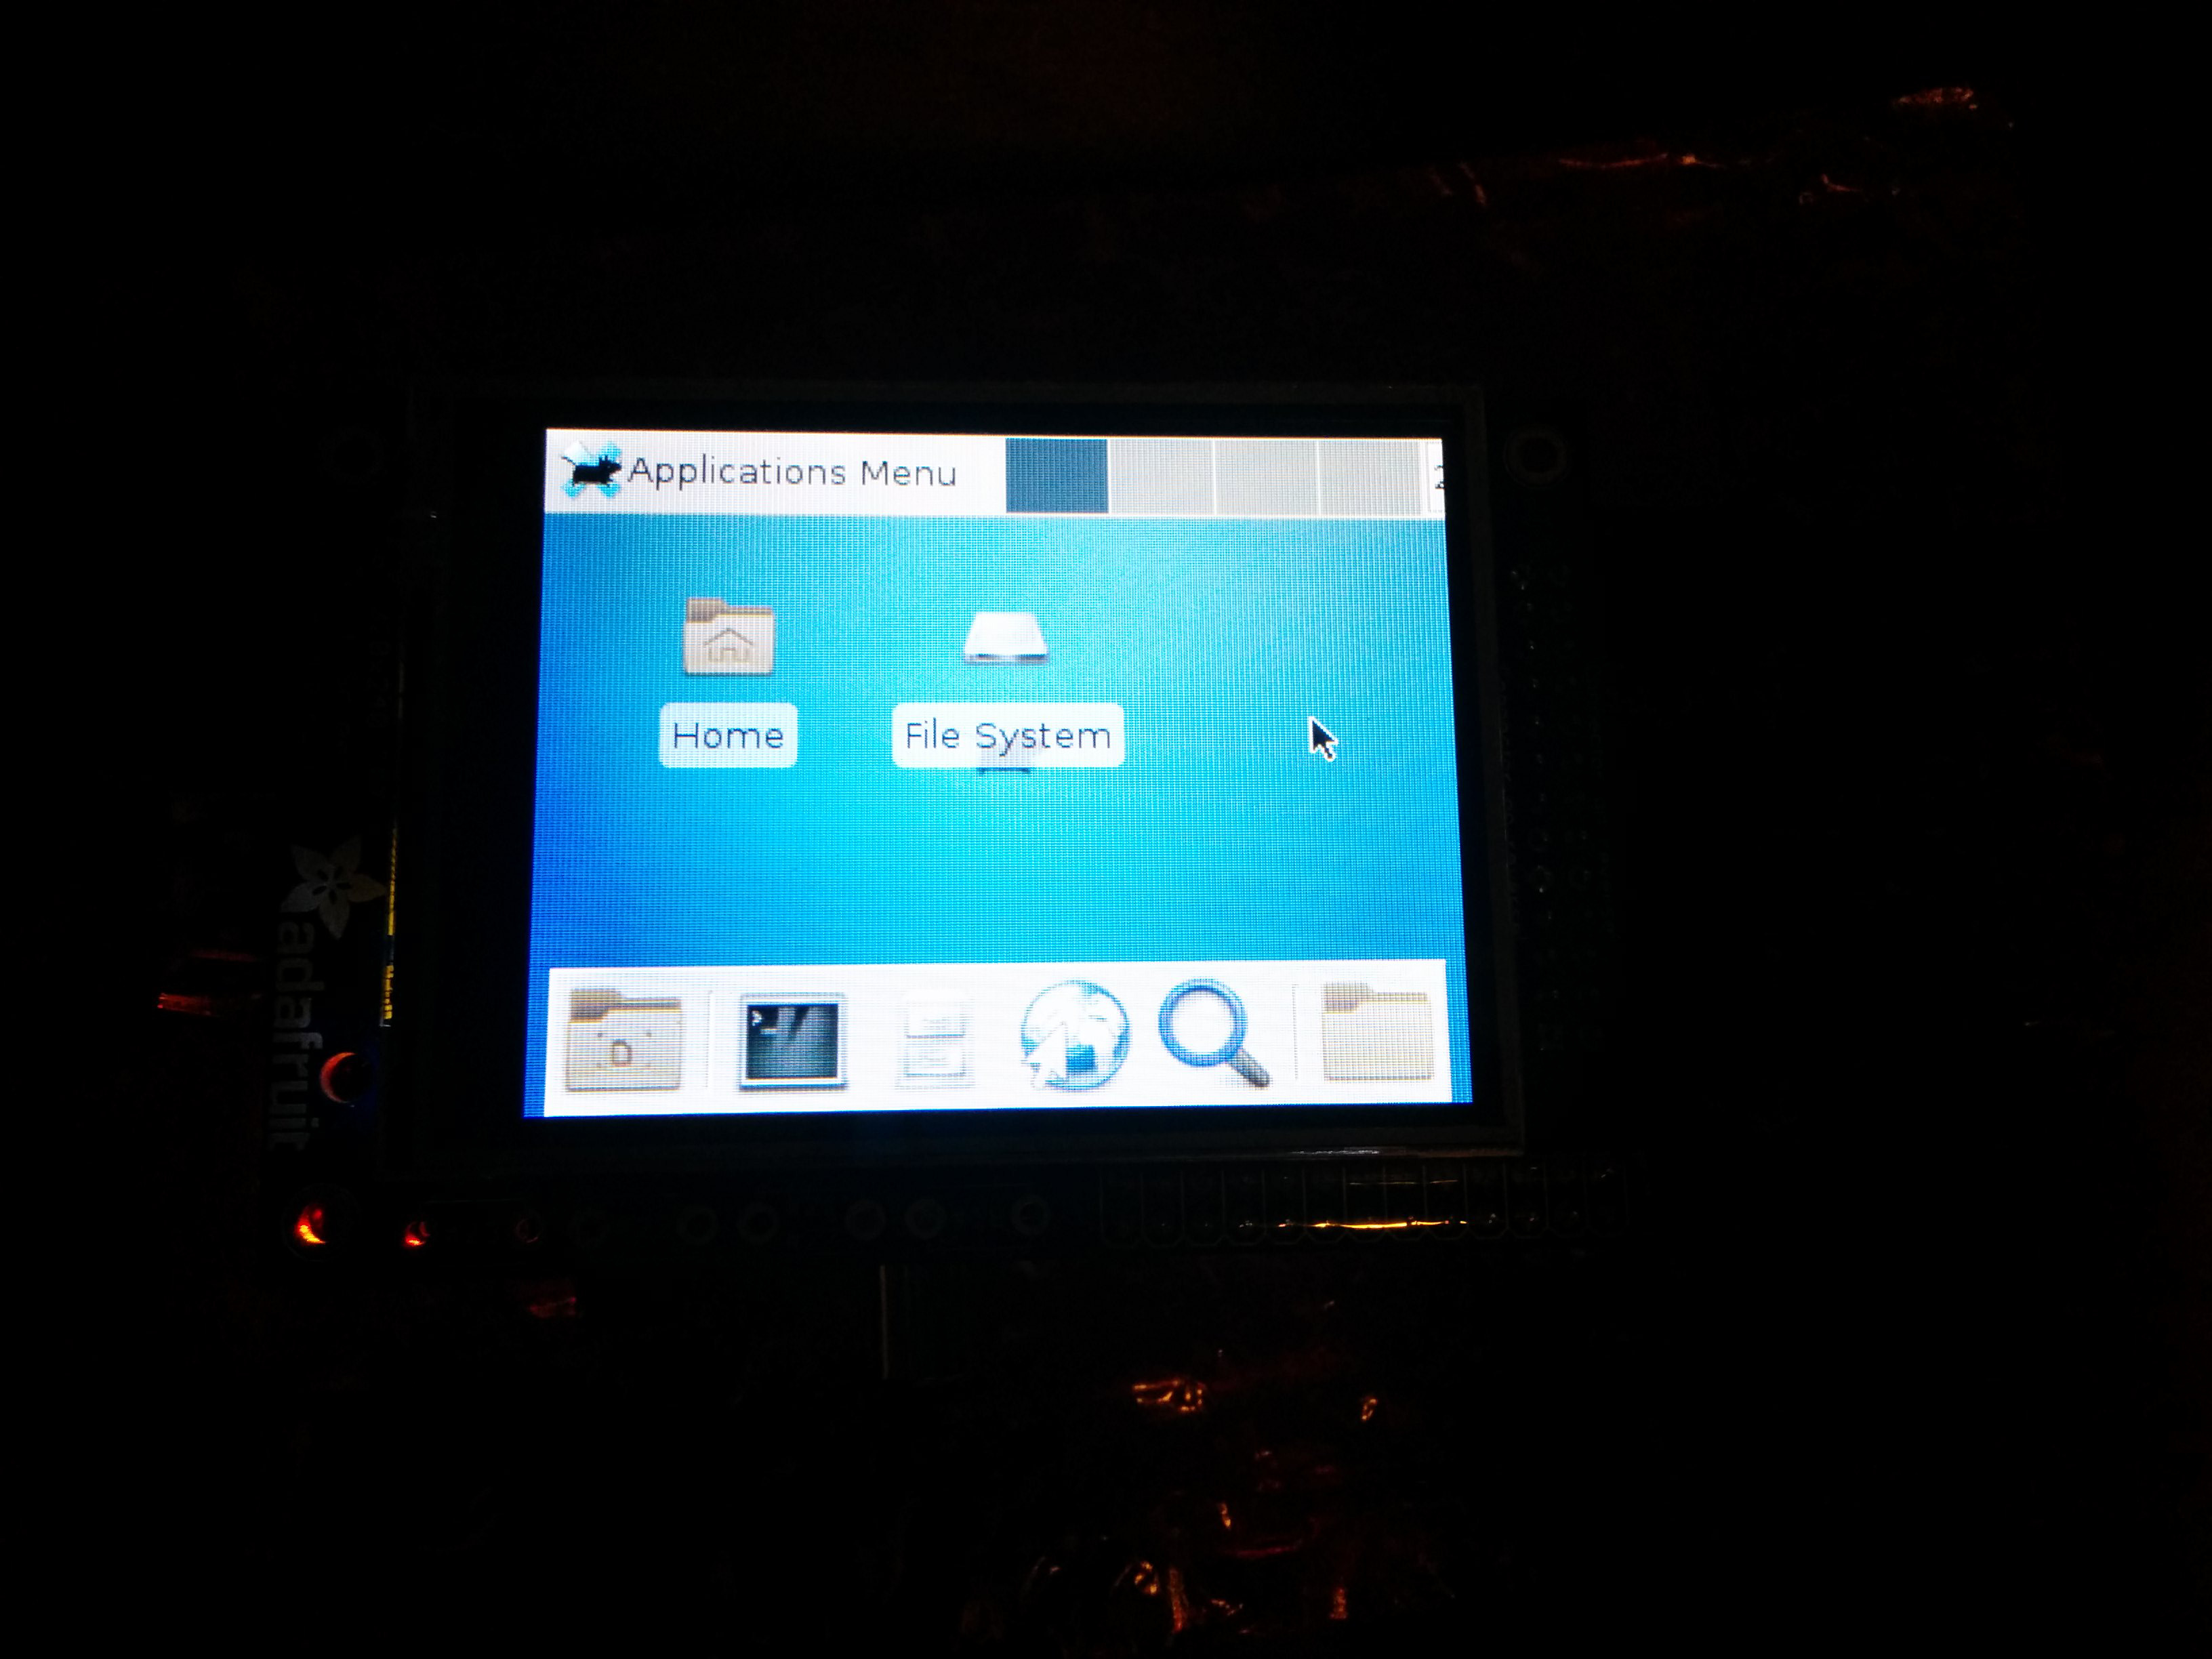
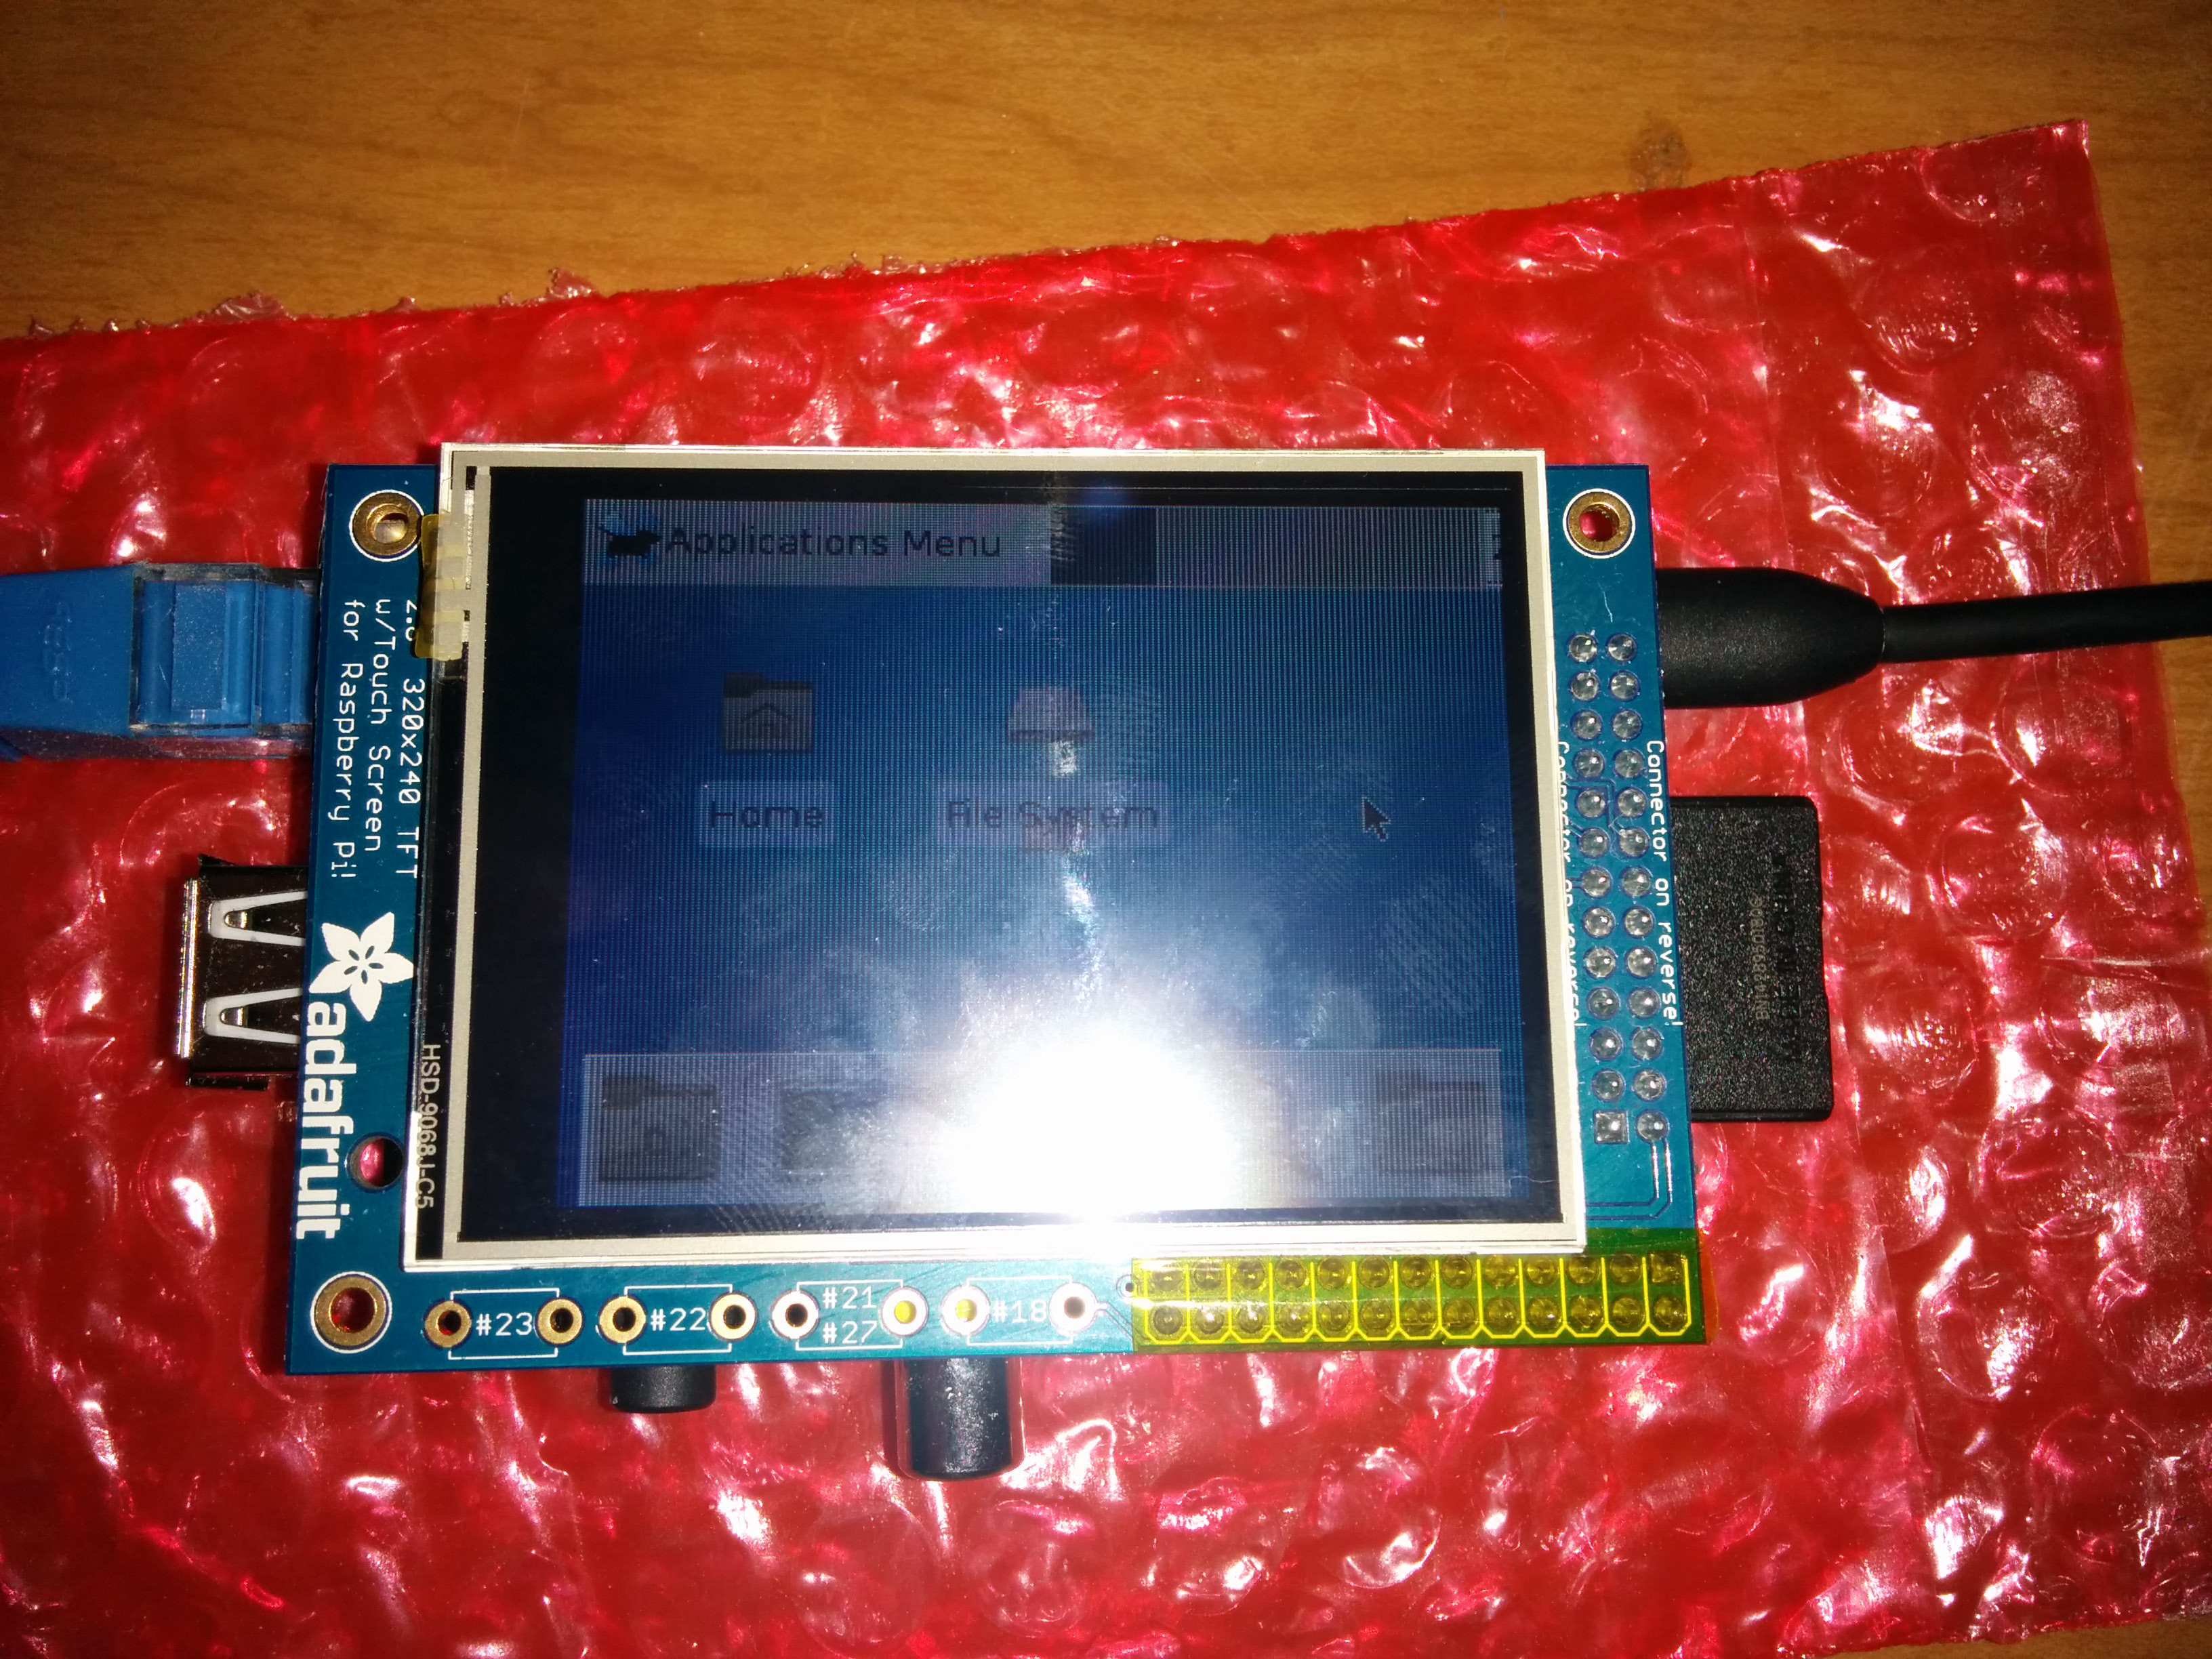
Adafruit touchscreen on a Raspberry Pi B running Slackware ARM.
I recently had the opportunity to get a friend a new Raspberry Pi Model B. I really like these, I have several all running Slackware ARM. While I have tried other distros, I find myself always going back to Slackware after a while for one reason or another, but that is a talk for another day. My friend decided he wanted to run Slackware on one of his Raspberry Pis, so I helped him out and get everything installed. Then I was presented with another issue. He wanted to use his Adafruit touchscreen. Now, Adafruit’s documentation and setup guides are really good, but only if you are running Raspbian (or a Debian based system). So that did present an issue, but one I wanted to solve.
Before I continue, please note that I did get this working (video and images at the bottom of the post), but I had to deliver the Pi back before I got a change to try again from scratch. This guide is based heavily off my best recollection of the steps I took, and may not be complete. If I’m missing something, or you can’t get it to work, let me know and I will try to help… or send me a screen so I can do this again.
Start with checking out this guide: https://learn.adafruit.com/adafruit-pitft-28-inch-resistive-touchscreen-display-raspberry-pi/software-installation it was helpful in getting everything going.
Now, download all the needed files:
wget http://adafruit-download.s3.amazonaws.com/libraspberrypi-bin-adafruit.deb wget http://adafruit-download.s3.amazonaws.com/libraspberrypi-dev-adafruit.deb wget http://adafruit-download.s3.amazonaws.com/libraspberrypi-doc-adafruit.deb wget http://adafruit-download.s3.amazonaws.com/libraspberrypi0-adafruit.deb wget http://adafruit-download.s3.amazonaws.com/raspberrypi-bootloader-adafruit-20140917-1.deb |
Download and install deb2tgz (https://code.google.com/p/deb2tgz/). This will help you convert those deb files to tgz for Slackware.
Now convert those deb files to tgz (deb2tgz *.deb)
Then install (installpkg *.tgz)
Now, you need to make a copy of raspberrypi-bootloader-adafruit-20140917-1.deb and place it in another directory. Once there, run:
ar x raspberrypi-bootloader-adafruit-20140917-1.deb |
This will explode out the archive. Find the file called data.tar.gz, and run:
tar -zxf data.tar.gz |
Now there will be some new directories. One is called boot. Make a backup of you /boot directory, then copy everything in that new boot to /boot.
cp -r /boot /boot.bak cd boot cp * /boot |
This will install the correct kernel that you need to use.
Next, open /boot/config.txt. The only line you need is gpu_mem=32.
Now, there are a few more packages you need to install. First is called evtest. I found an awesome slackbuild repository located over at https://github.com/PhantomX/slackbuilds.git, and we are going to install his evtest package.
git clone https://github.com/PhantomX/slackbuilds.git cd slackbuilds/ cd evtest/ ./evtest.SlackBuild installpkg evtest-1.32-x86_64-1root.txz |
Notice how the arch listed in the Slackware package as x86_64, don’t worry, it works, just install it.
Next is tslib. Here is how I built and installed it (also, I cheated and did not build a Slackware package).
wget http://ftp.de.debian.org/debian/pool/main/t/tslib/tslib_1.0.orig.tar.gz tar -zxf tslib_1.0.orig.tar.gz cd tslib-1.0/ ./autogen.sh ./configure make make install |
Last, we need to build a package called xf86-video-fbturbo. (Forgive me, you may not need to run make in that first directory, but definitely in the src directory)
git clone https://github.com/ssvb/xf86-video-fbturbo cd xf86-video-fbturbo/ ./autogen.sh make cd src autoreconf -vi ./configure --prefix=/usr nano xorg.conf make make install |
There, that was fun! Alright, lets edit a few more files.
Open /boot/cmdline.txt, and place this one line in there (it is the only line for me, you maybe different)
dwc_otg.lpm_enable=0 console=tty1 nofont root=/dev/mmcblk0p3 fbcon=map:10 fbcon=font:VGA8x8 rootfstype=ext4 rootwait ro |
Then open /etc/X11/xorg.conf.d/99-calibration.conf (if the directory or file does not exist, create it!) and place this in the file.
Note the commented out items, I meant to experiment with them, I don’t remember if those options break anything, but I doubt it.
Section "InputClass"
    Identifier "calibration"
    MatchProduct "stmpe-ts"
    Option "Calibration" "3800 200 200 3800"
    Option "SwapAxes" "1"
EndSection

Section "Device"
        Identifier      "Allwinner A10/A13 FBDEV"
        Driver          "fbturbo"
        Option          "fbdev" "/dev/fb1"
#        Option          "SwapbuffersWait" "true"
        # `man fbturbo` to know more options
#        Option          "AccelMethod" "G2D"
EndSection

Section "Monitor"
    Identifier "Monitor0"
    Option "DPMS"
EndSection

Section "Screen"
    Identifier "Screen0"
    Device     "main"
    Monitor    "Monitor0"
    DefaultDepth 16
    SubSection "Display"
            Depth 16
            Modes "320x240"
    EndSubSection
EndSection |
Lastly, open /etc/rc.d/rc.local and add these lines:
modprobe spi-bcm2708 modprobe fbtft_device name=adafruitrt28 rotate=90 frequency=32000000 export FRAMEBUFFER=/dev/fb1 |
I also recommend adding the export framebuffer to your user’s ~/.bashrc file. You need that before X will start.
I really hope I got this all right. Feel free to complain. Maybe I’ll get another chance to play with this again in the near future, and this time, I’ll get it right! I wish you all the best of luck! Cheers,
If the video above isn’t loading, you can view it here: https://www.youtube.com/watch?v=KpzBYshxY9c